Printing
PrintNode
tracezilla integrates with PrintNode.
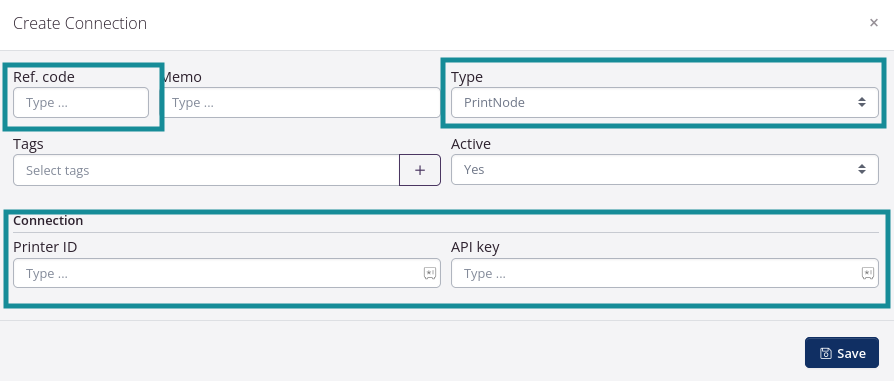
To set it up, navigate to tracezilla > Connect > Create Connection Entity:

- Set
TypetoPrintNode - Set values from PrintNode
- Set
Ref. codeto the printer ref code - Set
Printer ID - Set
API keyto your API key from PrintNode
- Set
- Click
Save
Finding PrintNode values
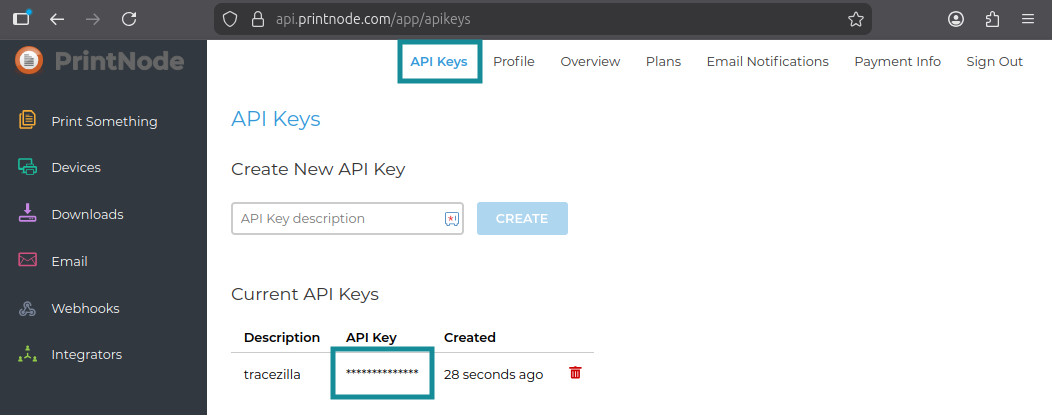
Log in to https://printnode.com
API key
Navigate to api.printnode.com > API Keys in the top menu bar.
Printer ID and Ref. code
Navigate to api.printnode.com > Devices in the sidebar and inspect a printer to find the printer ID and ref code.
tracezilla API endpoint
POST /send-custom-document-to-connection
tracezilla has an endpoint that let you send a custom document to a connection.
For example, this can be used to set up Custom Template HTML pages with print buttons that requests Custom Template PDF pages to be generated and sent to PrintNode.
To construct the full URL you need:
- The app URL:
https://app.tracezilla.com/ - The team ‘slug’ (E.g.
example-company) - The tracezilla Connection Ref. code
- The Custom Template > Reference code
- The ID for the Custom Template Model, e.g.
order_idfor an Order orlot_idfor a Lot
Full URL pattern:
1
{app_url}/{team_slug}/send-custom-document-to-connection/{connection_ref_code}/{template_ref_code}/{model_id}
Full URL example:
1
https://app.tracezilla.com/example-company/send-custom-document-to-connection/TESTPRINTER01/ORDER_PDF/33bed810-cc17-4928-97d8-12d1f3a0ff8f
Filename patterns
Filename pattern uses Liquid syntax.
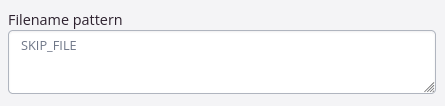
SKIP_FILE
If Filename pattern in Custom Templates > Edit Basic Information returns SKIP_FILE then it will be ignored in Connect.
I.e. it will not be printed, not be emailed and will not show up in tracezilla > Connect > Outbox.
Filename pattern:
1
SKIP_FILE
Example:
Custom endpoint
A file can be sent to a custom endpoint by prefixing the filename with the endpoint URL followed by a : (colon)
Filename pattern:
1
{endpoint_url}:{filename}
Replace {endpoint_url} and {filename} including the curly brackets.